How to Add Embroidery to Your Denim Jeans
Hey Babes! 
 Ready to amp up your jeans game? Imagine turning your plain denim into Insta-worthy fashion statements! We’re talking about adding cool patches, cute quotes, or funky designs to make your jeans uniquely YOU. It’s like customizing your style with every stitch – express yourself, one denim masterpiece at a time! Let’s dive into the fun world of denim embroidery together!

Step 1 : Choose the Right Denim
Before we get our hands dirty with threads, let’s talk denim. Opt for a mid-weight denim – not too thin to avoid puckering, and not too thick to ease the needle through. Vintage or distressed denim adds an extra layer of character, making the embroidery pop. Remember, your denim is your canvas, so choose wisely!
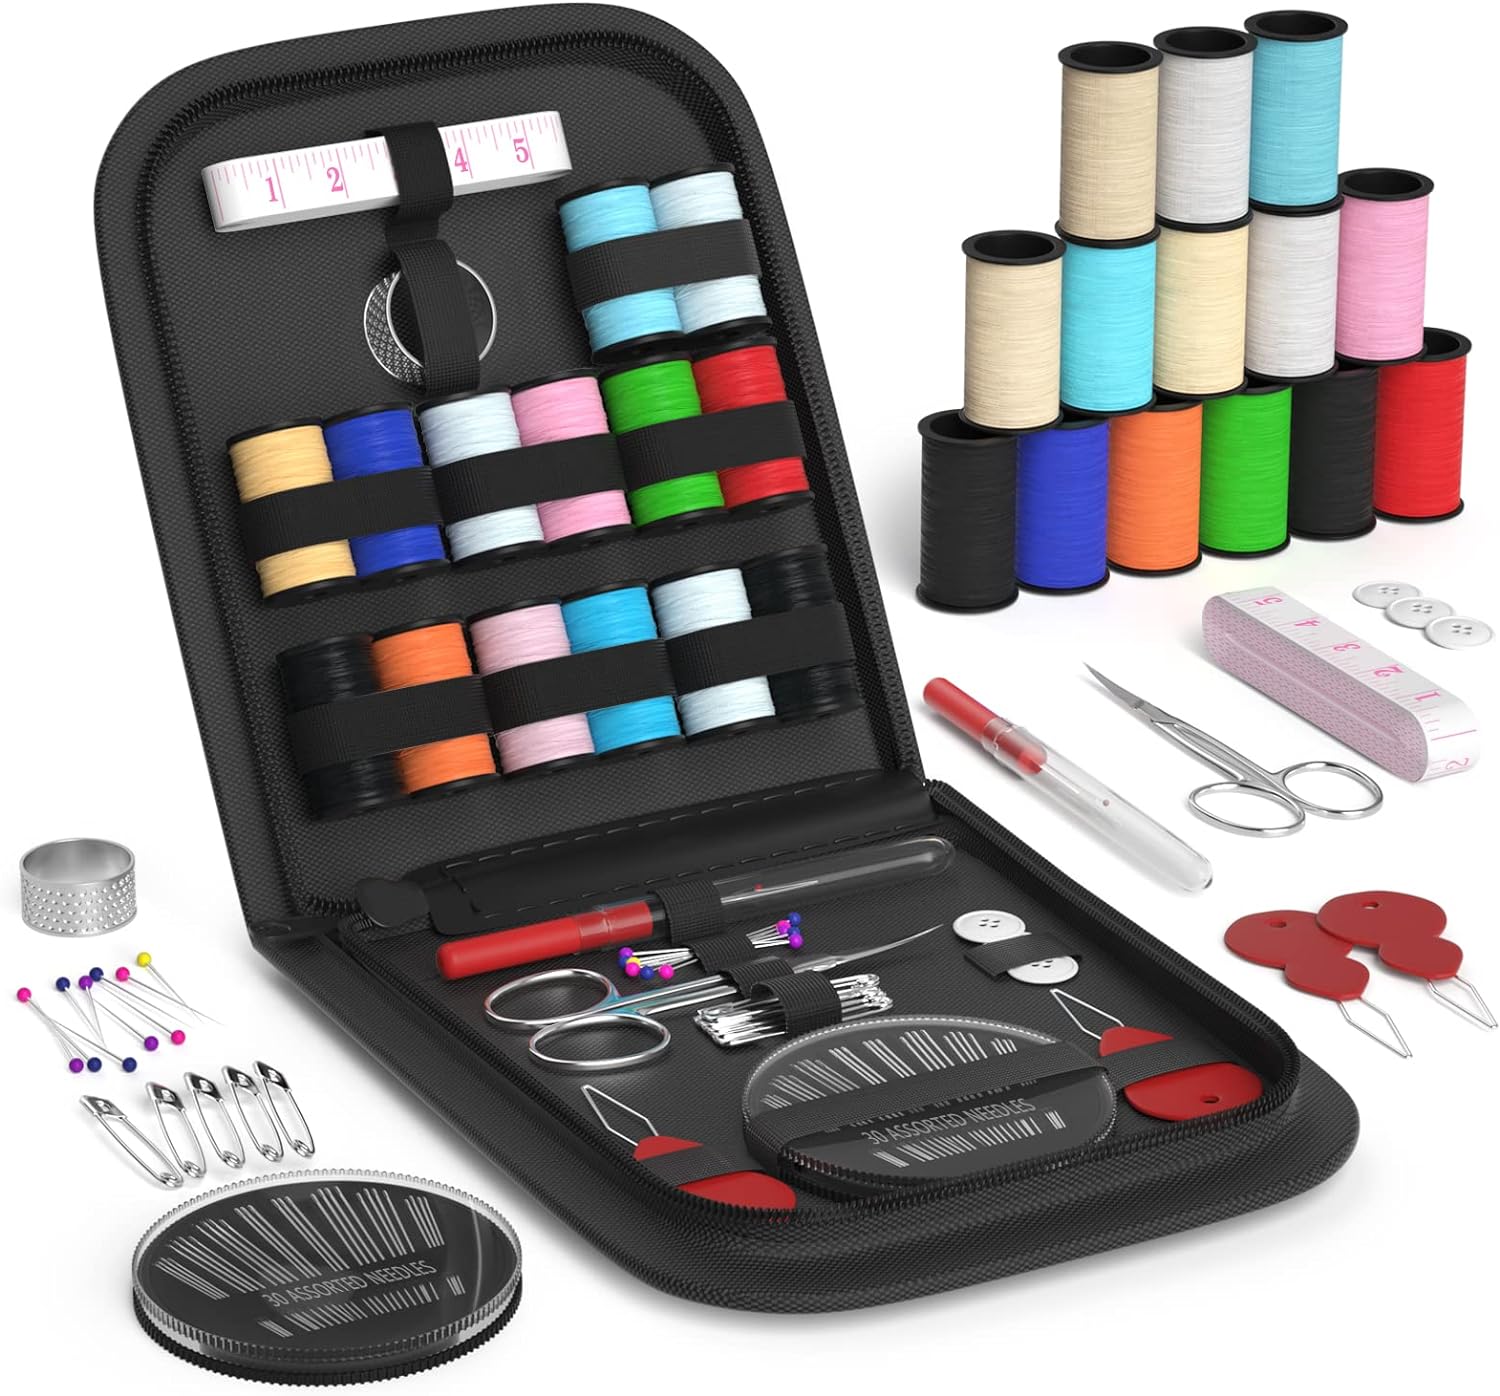
Step 2: Prepare Embroidery Essentials
Now, let’s talk tools. A quality embroidery hoop is your best friend; it keeps the fabric taut and your stitches even. As for threads, go wild with colors that resonate with your personality. I often find myself reaching for a spectrum of shades to create a vibrant masterpiece. And don’t forget needles – Larger needles suit thicker threads, while smaller ones are perfect for finer details.
Step 3: Getting Started – Design Inspiration
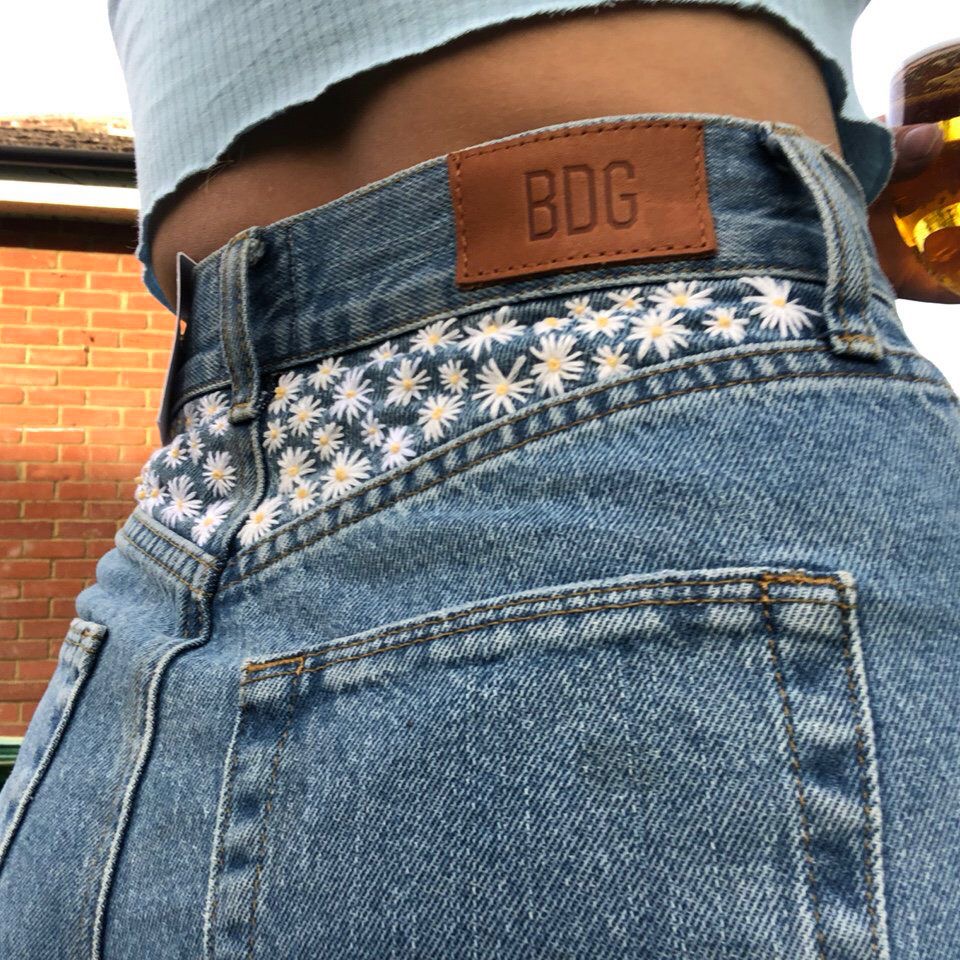
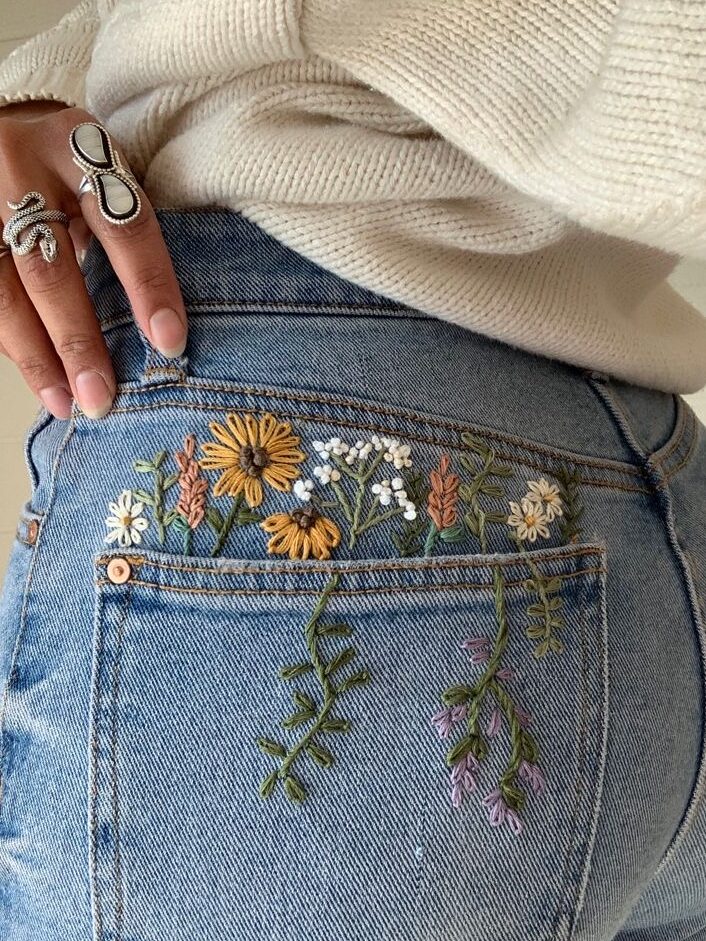
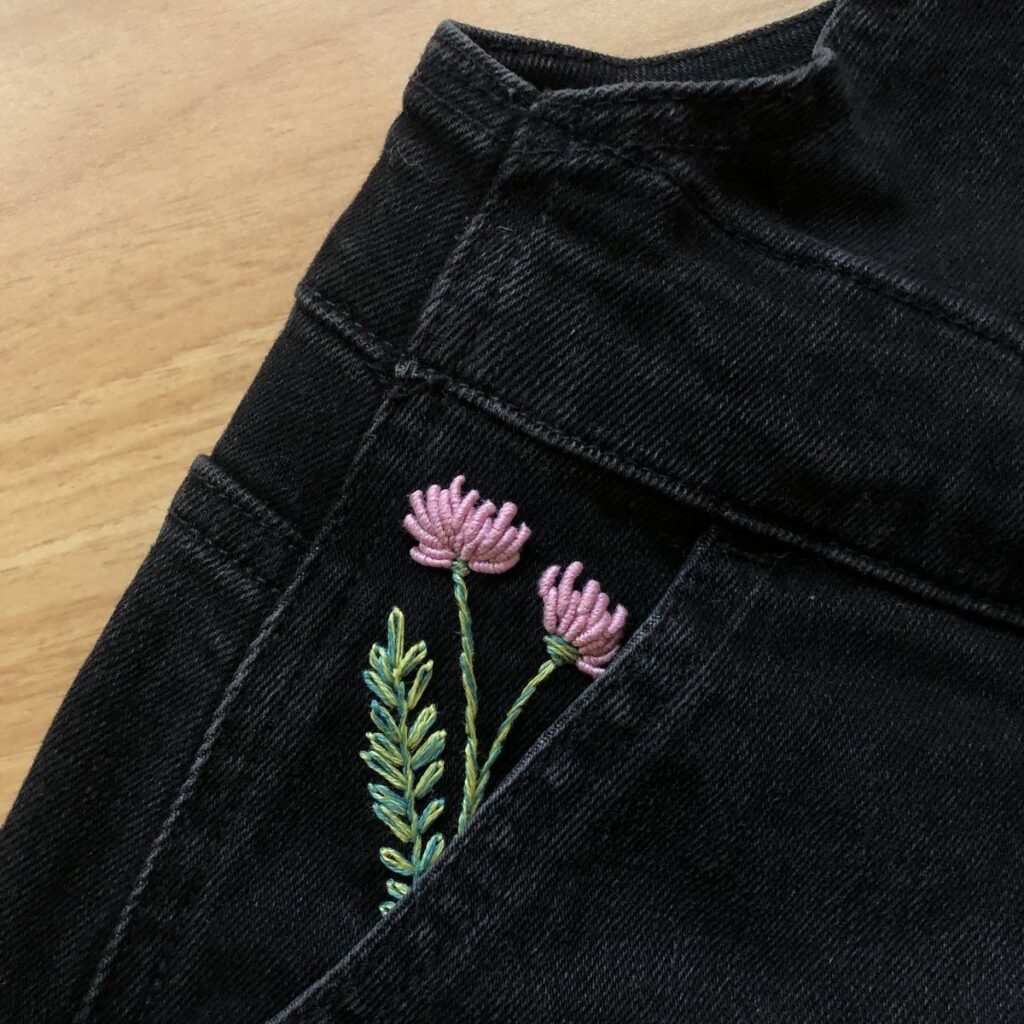
Feeling overwhelmed with design choices? Pinterest is a goldmine for inspiration. Dive into the world of denim embroidery boards, where ideas flow like a river. From floral motifs to abstract designs, let your imagination run wild. Once you’ve found your muse, adapt it to fit your style – it’s all about making it uniquely yours. Here are some of our top floral embroidery picks!
Step 4: How to Stitch Flowers on My Jeans?
If you want to skip the boring information on what each stitch means and just get into learning how to stitch the different floral patterns on your jeans, we have the perfect video for you to watch! Once you get your beginners’ stitching kit from amazon and watch this 9 min video.. you’re pretty much set to start stitching your art piece!
Step 4. Choose your Stitch Type
As seen in the video, there are many different stitch types. Some of them are Let’s dive deeper into some basic stitches, unraveling the magic that can turn a plain pair of denim into a personalized masterpiece.
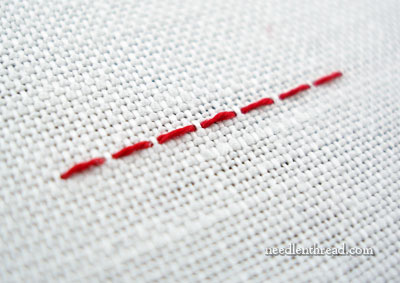
1. Running Stitch
This is the simplest and most basic stitch. It involves passing the needle in and out of the fabric, creating a dashed line effect. Ideal for creating borders or outlining your design on denim, it adds a touch of simplicity and works well on both light and heavy denim.
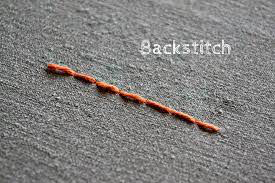
2. Back Stitch:
For a more solid line and a slightly raised texture, the back stitch is your go-to. It’s excellent for outlining intricate patterns on denim, providing a clean and defined look. I often use back stitches for floral motifs and geometric designs.
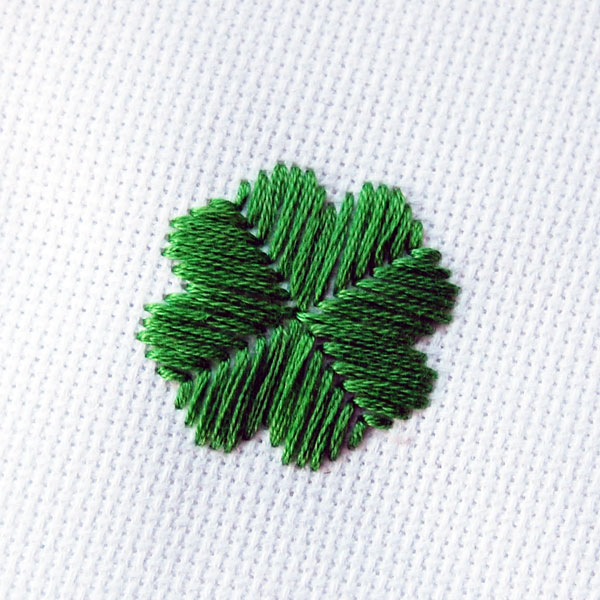
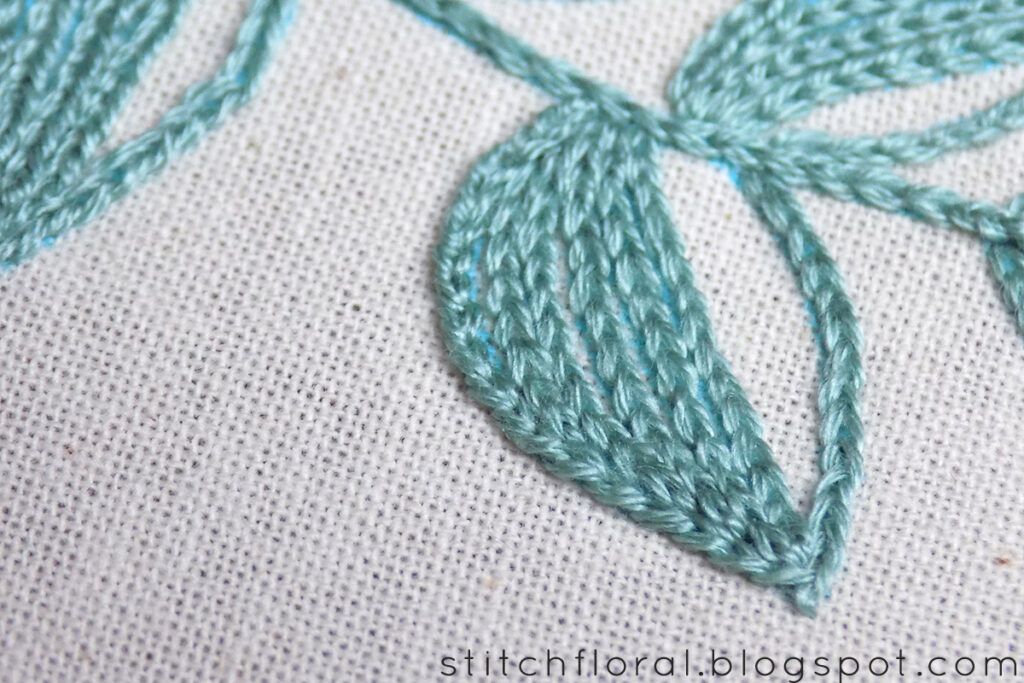
3. Satin Stitch
When you want to fill a specific area with vibrant color, the satin stitch is your friend. It creates a smooth, shiny surface and works exceptionally well on denim, giving your embroidery a polished finish. I’ve used satin stitches for larger elements like leaves or petals to make them pop.
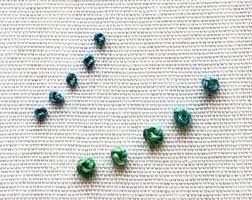
4. French Knots
These little knots add a delightful texture and dimension to your denim embroidery. Perfect for creating clusters of tiny details like flower centers or adding a sprinkle of interest to your design. While they can be a bit tricky at first, once mastered, they’re a game-changer for intricate patterns.
5. Chain Stitch
If you’re aiming for a more textured and rope-like effect, the chain stitch is a winner. It creates a linked pattern that can be used for outlines or filling larger areas. I often incorporate chain stitches for lettering or to outline and emphasize certain elements within my designs
3 Things to Consider Before Stitching on Denim
1. Sketch First
If time is on your side or you just like to be neat, don’t just jump into stitching immediately. Always sketch out your plan first. Here’s how to do that: Start by sketching your design on paper. Once you have a clear vision, transfer it onto your denim using an easily removable fabric marker. Begin by outlining your design using back stitches or running stitches. Use satin stitches to fill in larger areas, incorporating French knots for small details. Experiment with the chain stitch to add texture or create unique patterns within your design.
2. Stitching Around Pockets and Seams
Denim often comes with pockets, seams, and other unique features. Use these elements to your advantage when planning your design. Incorporate stitches around pockets or follow the lines of seams to seamlessly integrate your embroidery into the denim’s existing structure.
3. Playing with Color
Denim provides an excellent backdrop for vibrant thread colors. Experiment with contrasting or complementary hues to make your embroidery pop. Consider using a variety of shades within the same color family to create subtle gradients and visual interest.
Loving the New Look!
So, there you have it – a glimpse into the world of denim embroidery from someone who’s been down the stitching rabbit hole. Remember, there are no rules – only endless possibilities waiting for your needle to bring them to life. You’re ready to rock them denim jeans with a renewed fervor!